
 Presented by PAY FIT


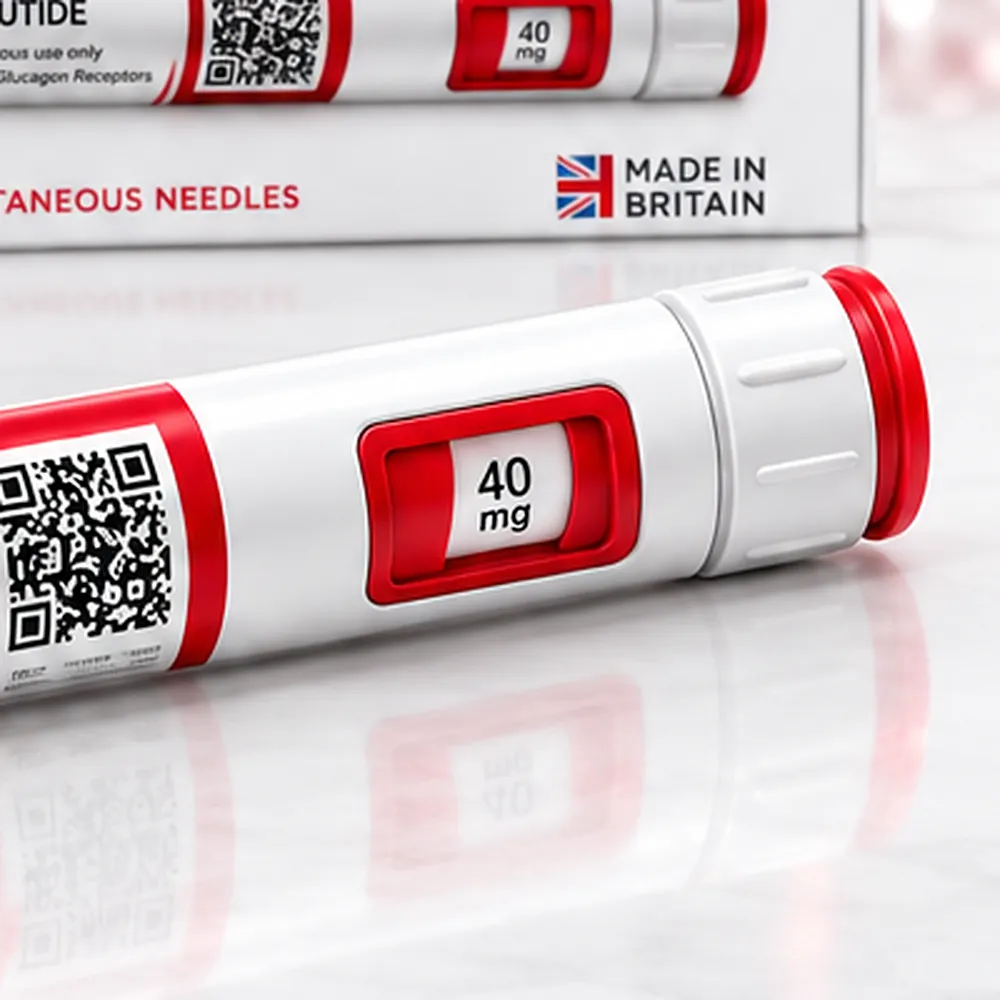
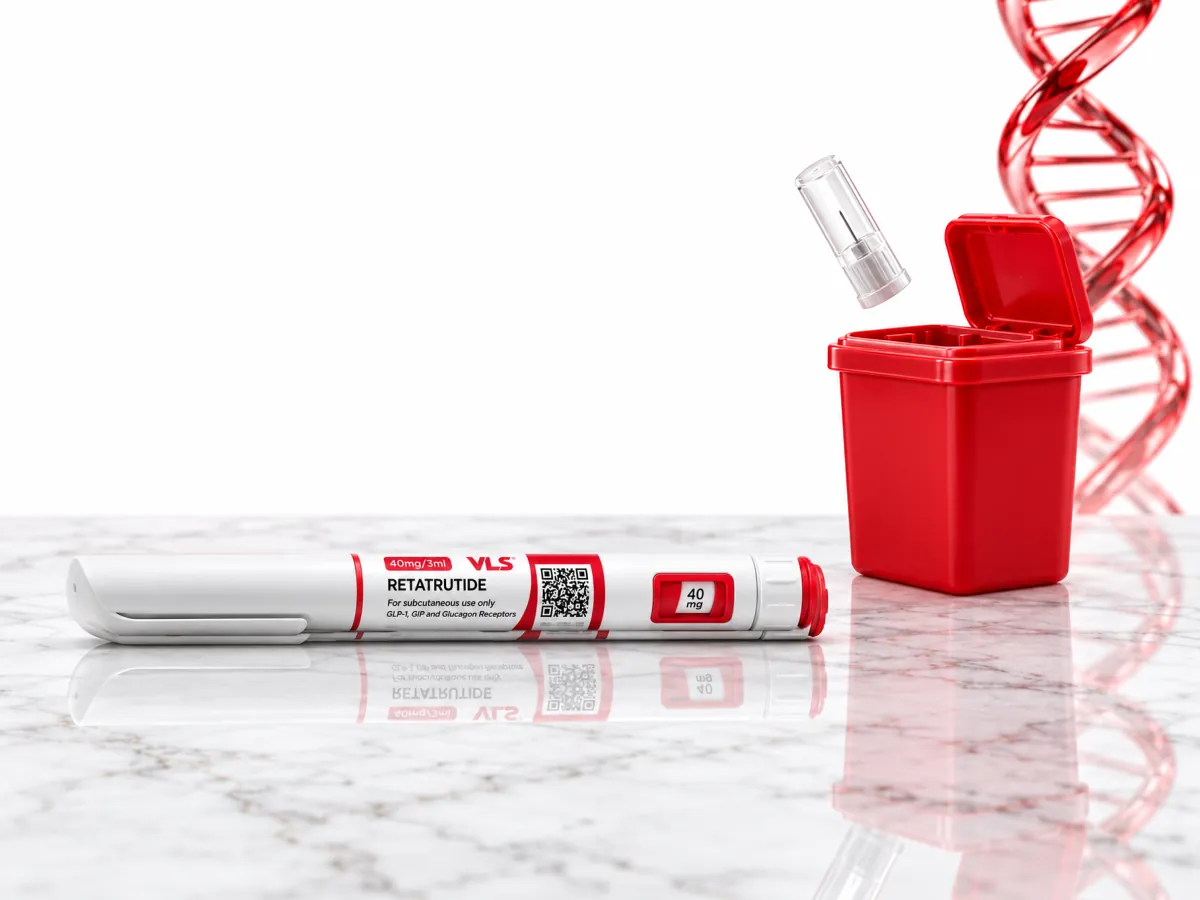
Pen window
The window where the chosen setting appears. Check it every time before injecting: it must match what your professional indicated.

For anyone who has already decided to use the pen: a simple guide to handling it safely, from the box to throwing away the needle. The dose and frequency are always set by a healthcare professional; follow the manufacturer’s instructions as well.
The window where the chosen setting appears. Check it every time before injecting: it must match what your professional indicated.
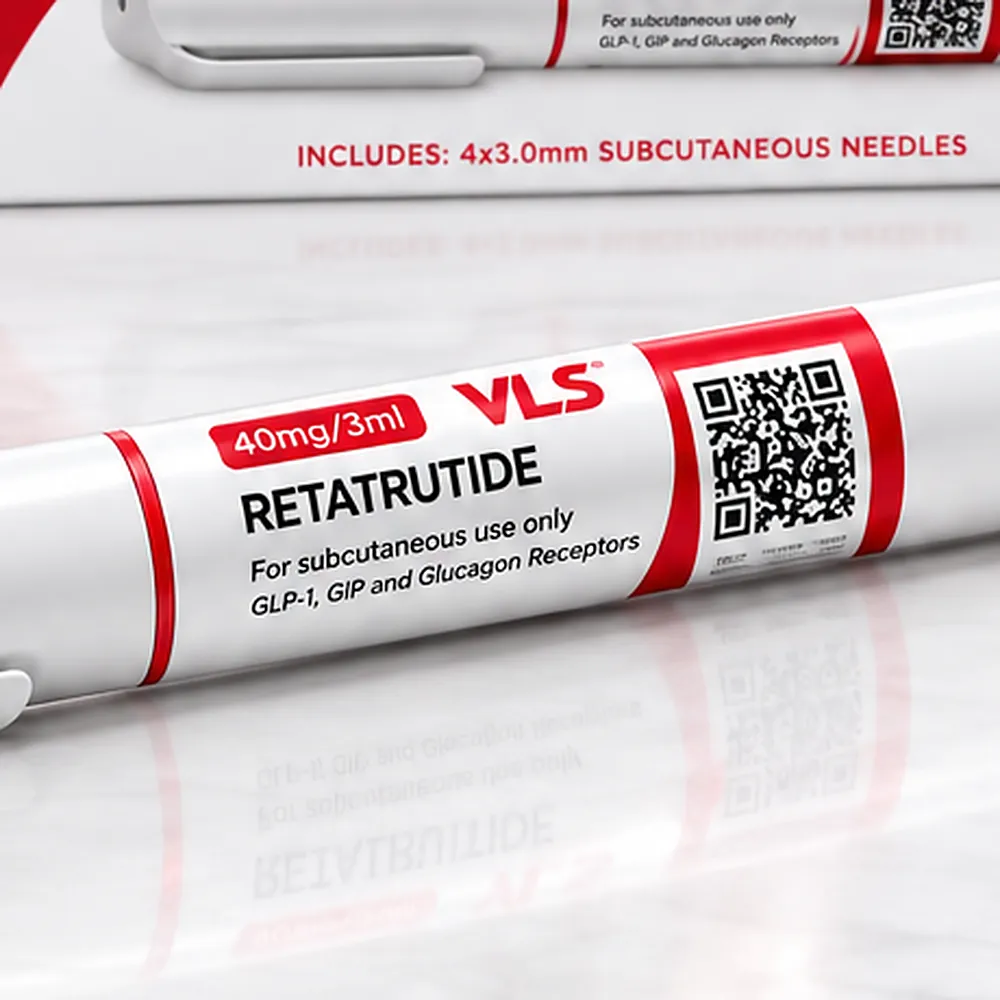
A single reservoir lasts for several uses; from one use to the next, only the needle is replaced.
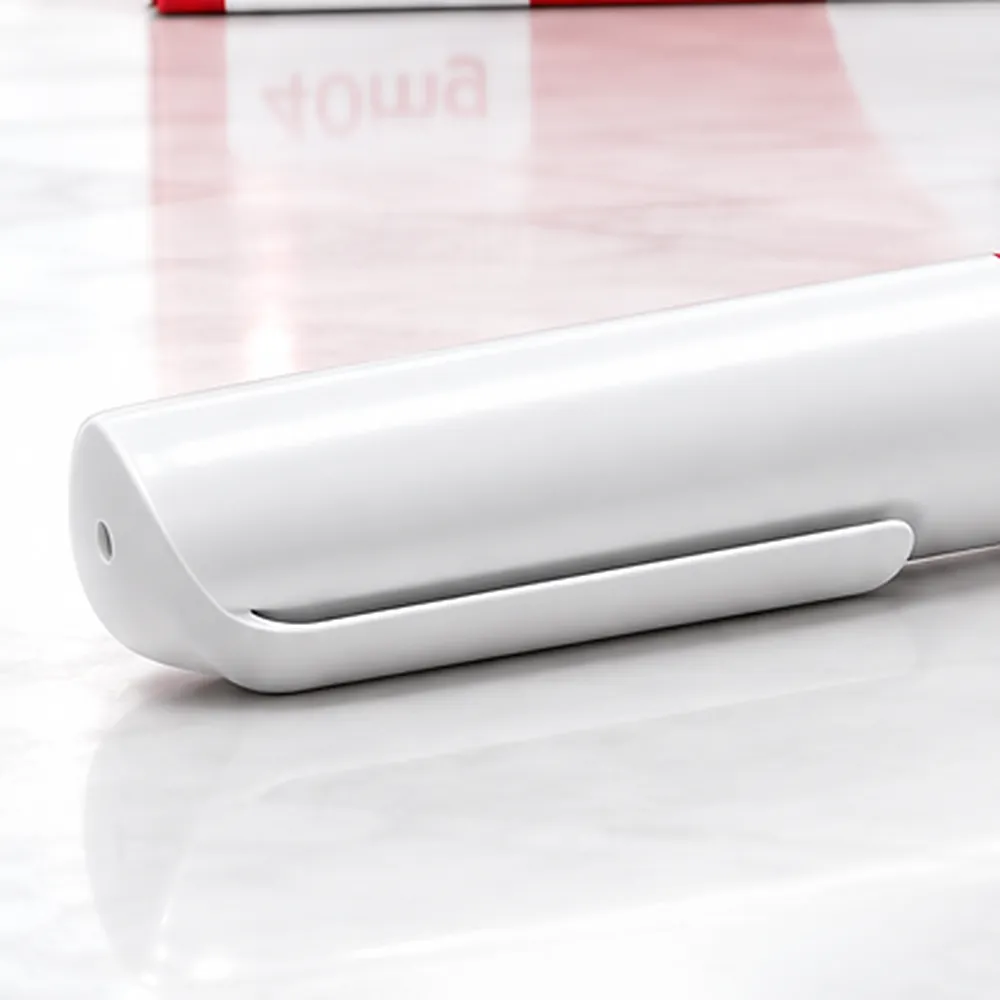
Covers the tip of the pen and the window, protecting them while the pen is not in use. To inject, unscrew the cap.
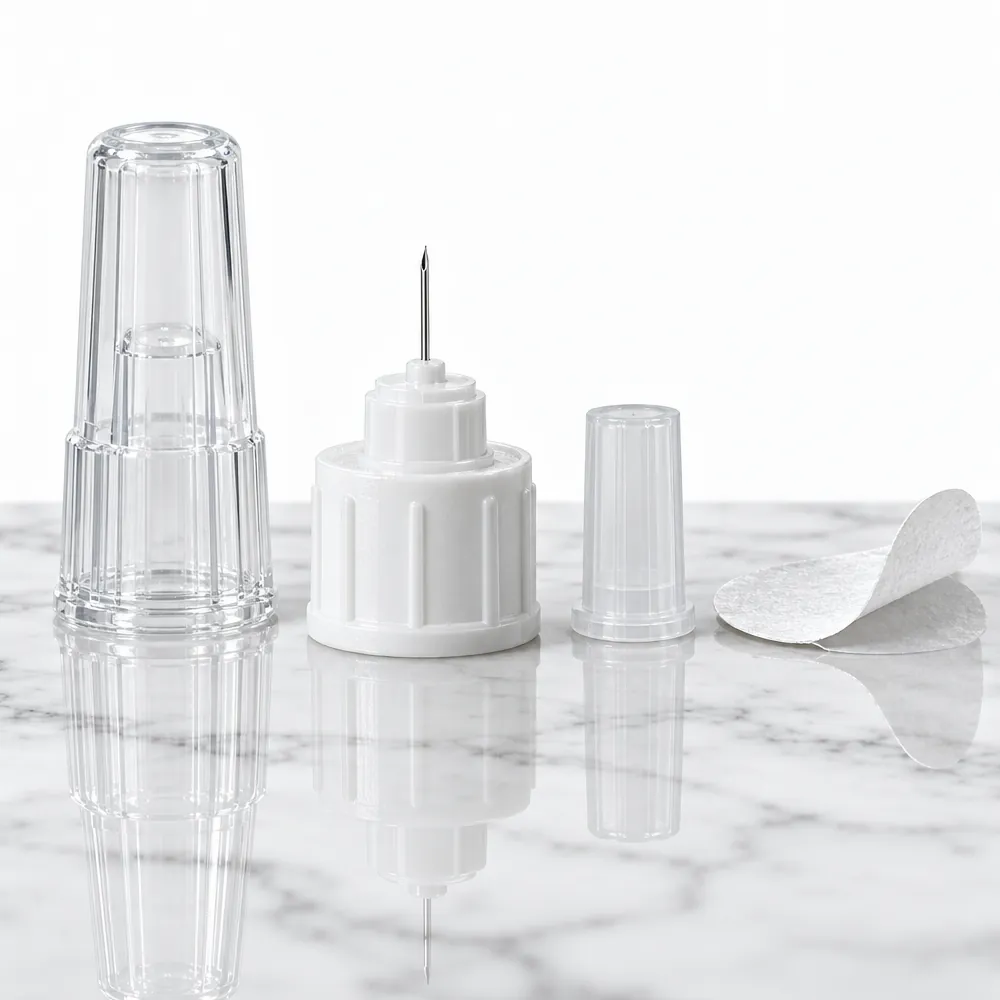
Short, designed for the subcutaneous tissue. The box holds 4 needles of 3.0 mm, and each is used once only.
Illustrative images.
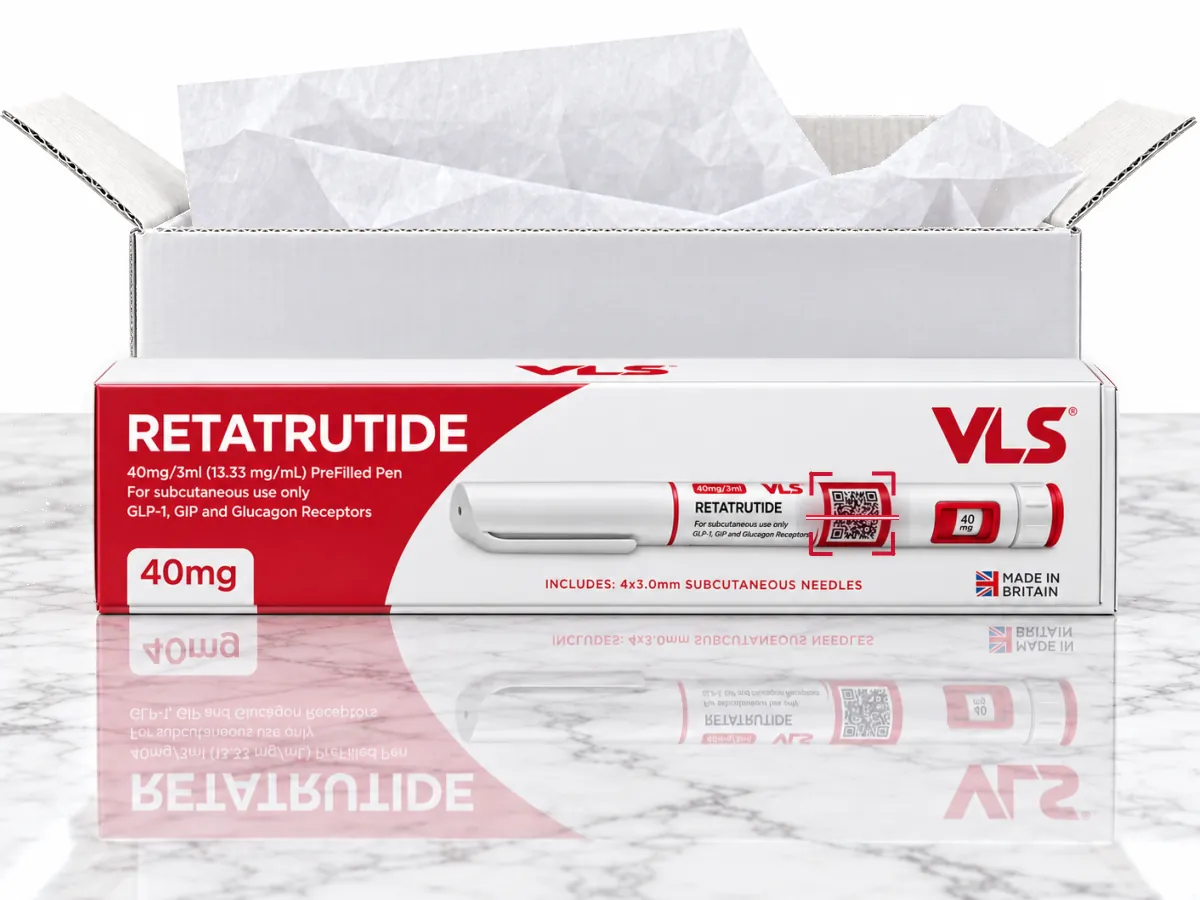
Wash your hands and look at the solution; if its appearance has changed in any way, do not use it. Check the seal, batch and expiry date on the box, and gather everything before you begin: your professional’s instruction, a new needle and the sharps bin.
Fit a new needle and take off its protective cap. With the pen ready, confirm in the window that the setting is the one your professional indicated, without changing it yourself. The injection is subcutaneous and follows what your professional showed you and what the manufacturer’s instructions say.
Remove the needle and put it straight into a rigid sharps container. Put the cap back on the pen and return it to the refrigerator, between 2 and 8 °C, until its next use.
Swipe to see the reference sites for a subcutaneous injection and each step, from getting ready to throwing the needle away.
1 / 7
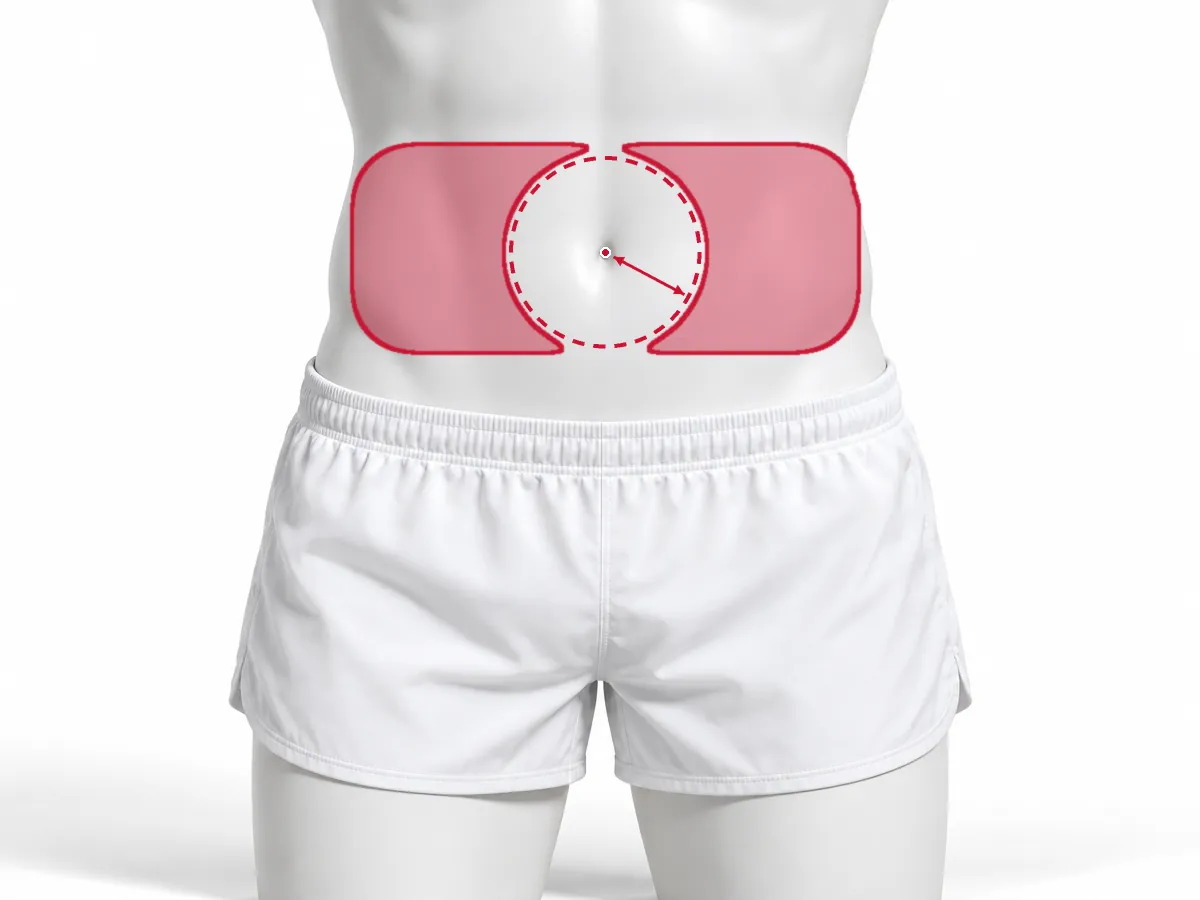 Site
Between the ribs and the hip bones, leaving at least 5 cm (about three finger-widths) clear around the navel.
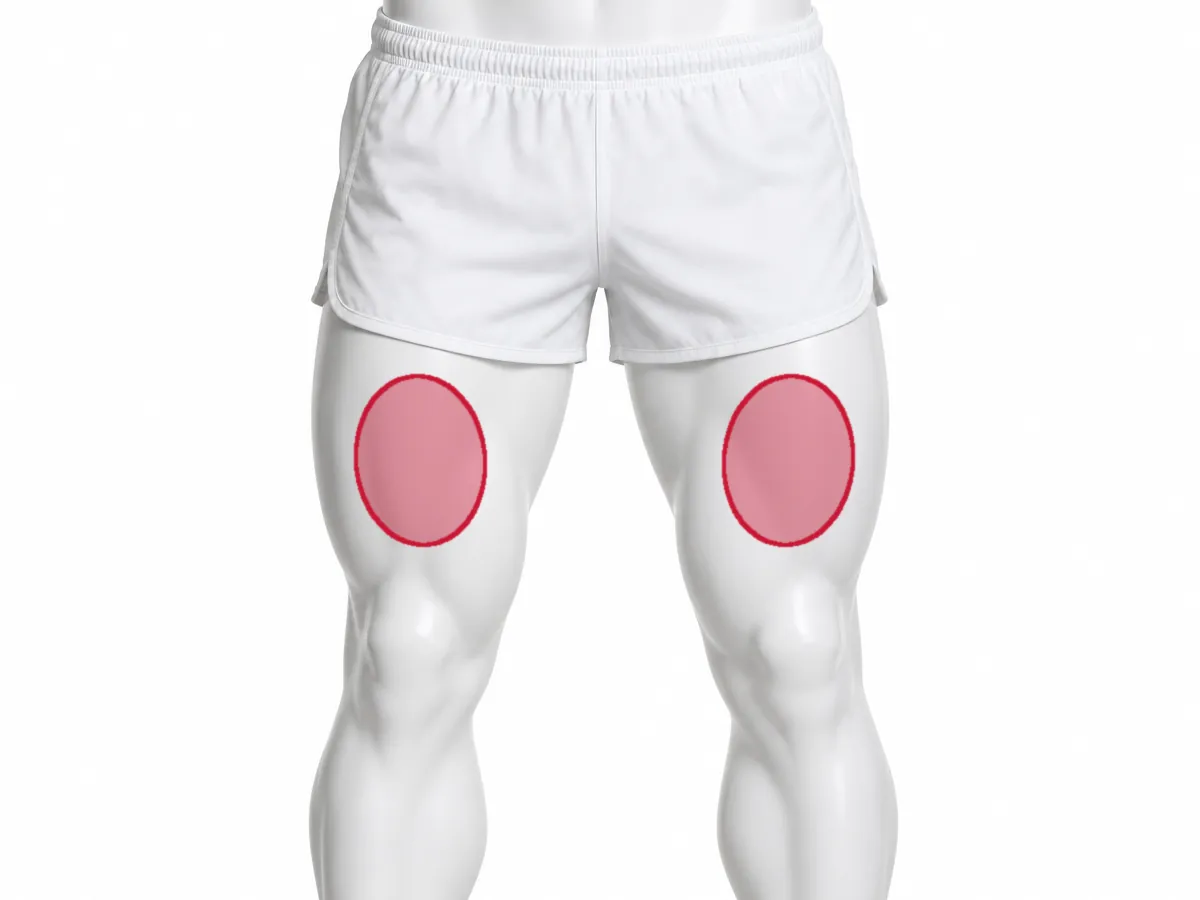 Site
On the upper half of the thigh, at the front or towards the outer side, away from the knee and the groin.
 Site
On the upper half of the arm, at the back or the side, about 7.5 cm (four finger-widths) from the shoulder and from the elbow.
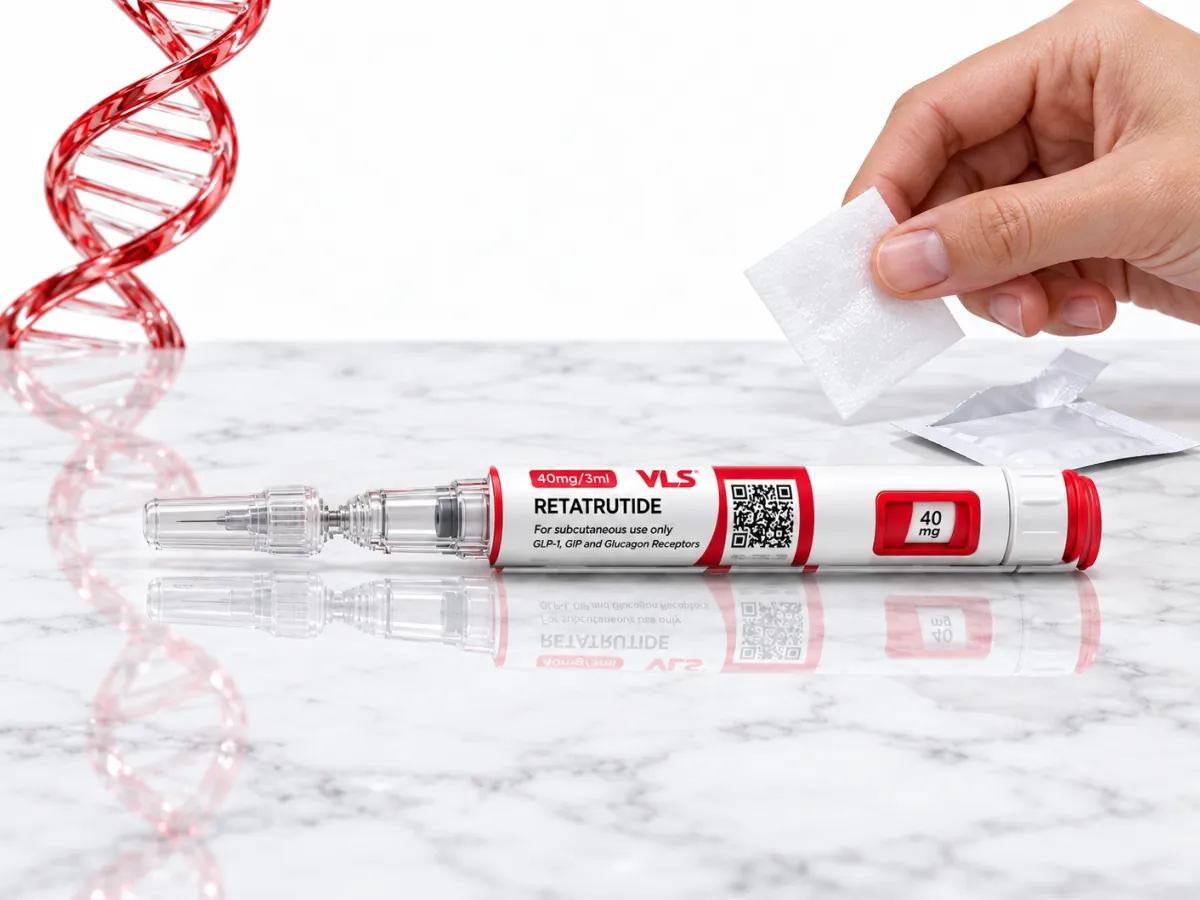 Step 1
Wash your hands, check that the solution is clear and free of particles, and clean the skin at the site with cotton and alcohol. Let it dry.
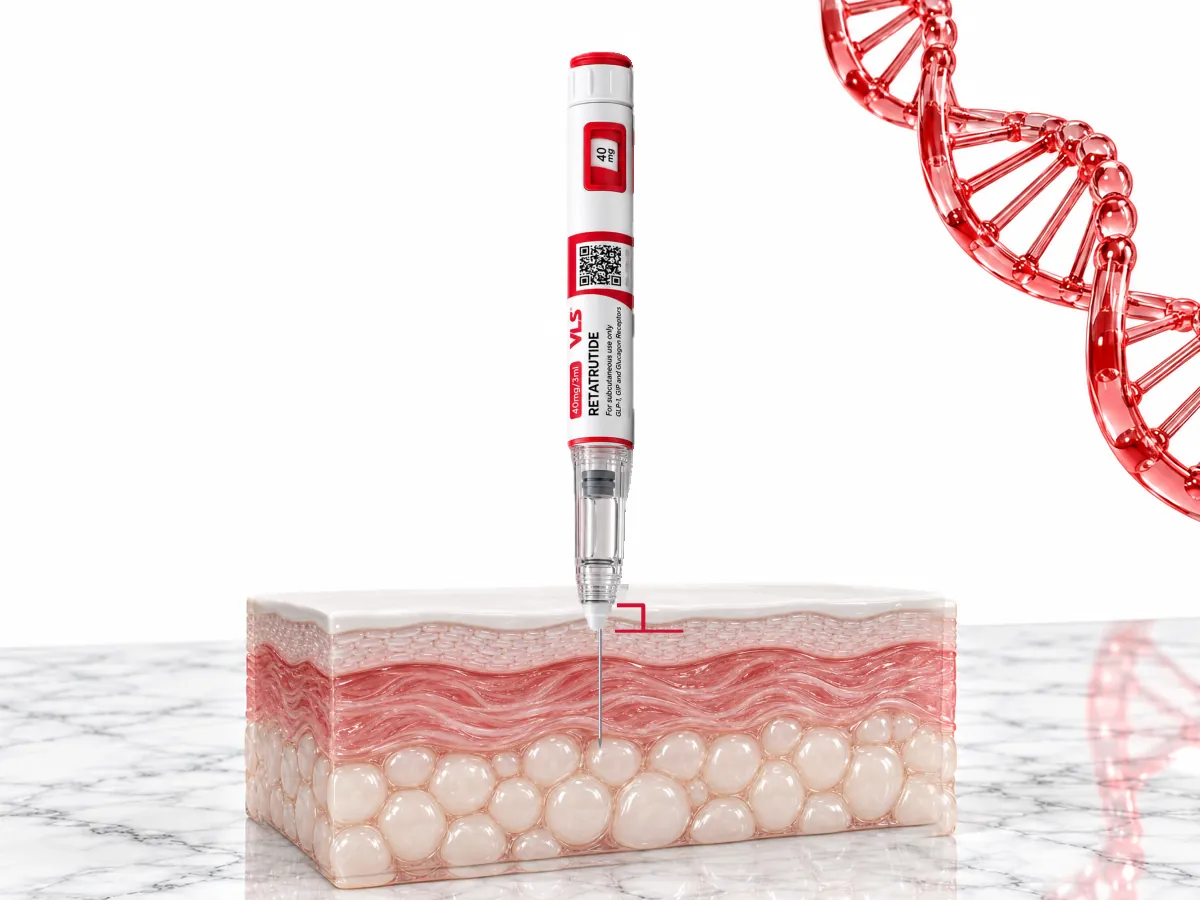 Step 2
With a new needle fitted and the window checked, the injection goes under the skin, at the chosen site and with the technique your professional showed you.
 Step 3
When you finish, take the needle off and drop it straight into a rigid container with a lid. Cap the pen and put it back in the refrigerator.
AlwaysEvery injection takes a new needle: a used one loses its sharpness and can carry germs into the skin. The pen is never shared either.
Reference sites for subcutaneous injection according to MedlinePlus (US National Library of Medicine) and the instructions for pens in this same class. It helps to change the spot each time, at least 2.5 cm from the last one. The exact site and technique are set by your professional, together with the manufacturer’s instructions. Illustrative images.
 Caution
Illustrative images.
Retatrutide is a chain of amino acids dissolved in the liquid inside the pen. Treated roughly, those chains stick together or break apart and the pen loses potency, even if the liquid looks the same. Four habits prevent it:
Shaking makes foam, and at the bubbles the chains unfold and clump together. Gentle movements, always.
Ice damages the structure of the peptide. If it froze, don’t use it, even if it looks normal afterwards.
Inside its box, out of direct sun and away from the oven or a car parked in the sun.
After each use it goes back in the refrigerator, at 2 to 8 °C. Leaving it out keeps chipping away at its strength.
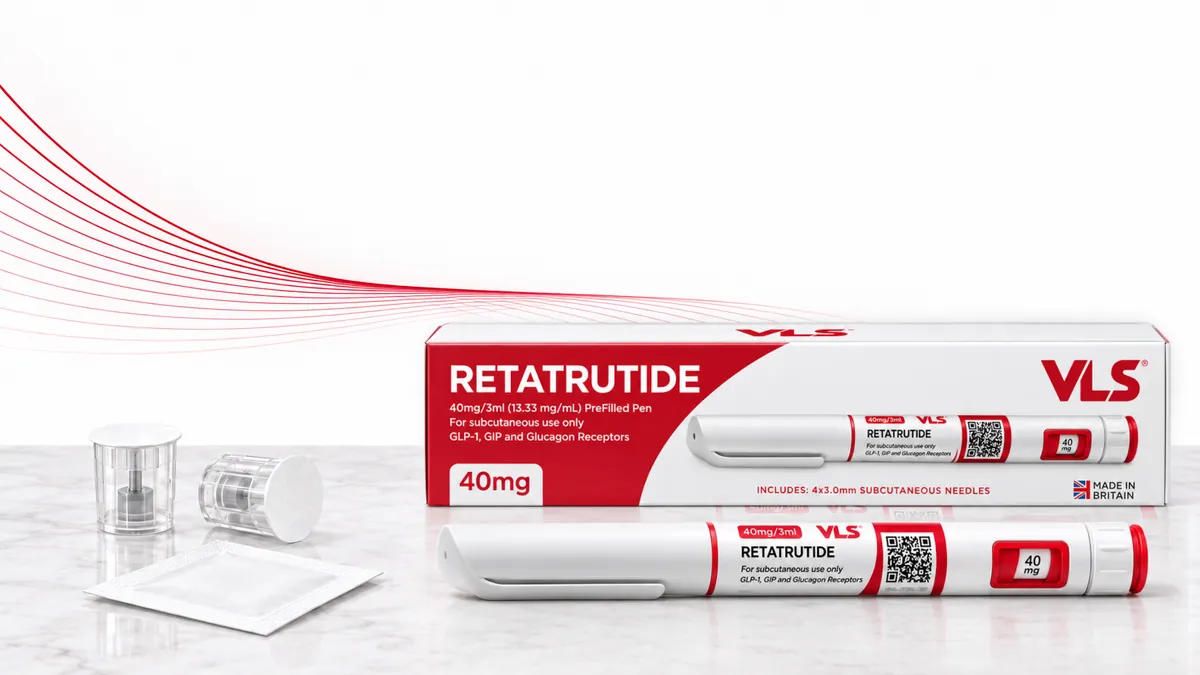
What each part of a multi-dose pen does, what to check before opening the box and before each use, which safety habits matter, and how to keep the pen in the refrigerator between uses.
Read article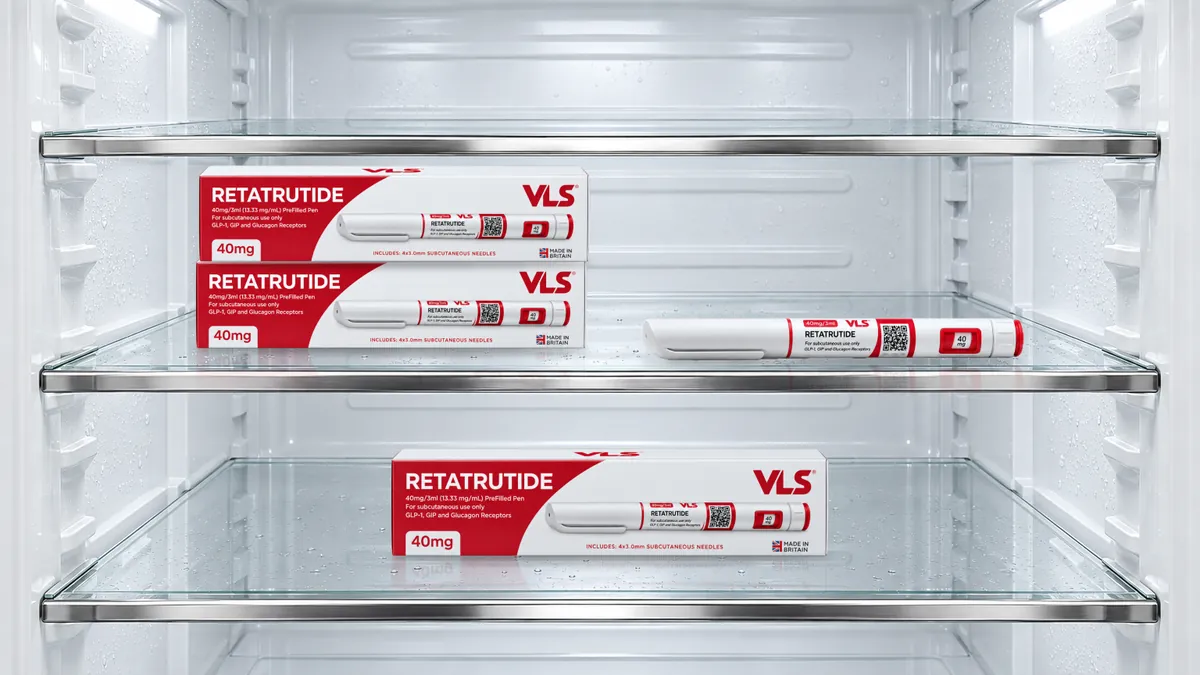
Refrigerator at 2 to 8 °C, away from light and heat, never frozen or shaken. Why the peptide is delicate, what takes its potency away, how to look after it at home and when travelling, and what to do if it was left out.
Read article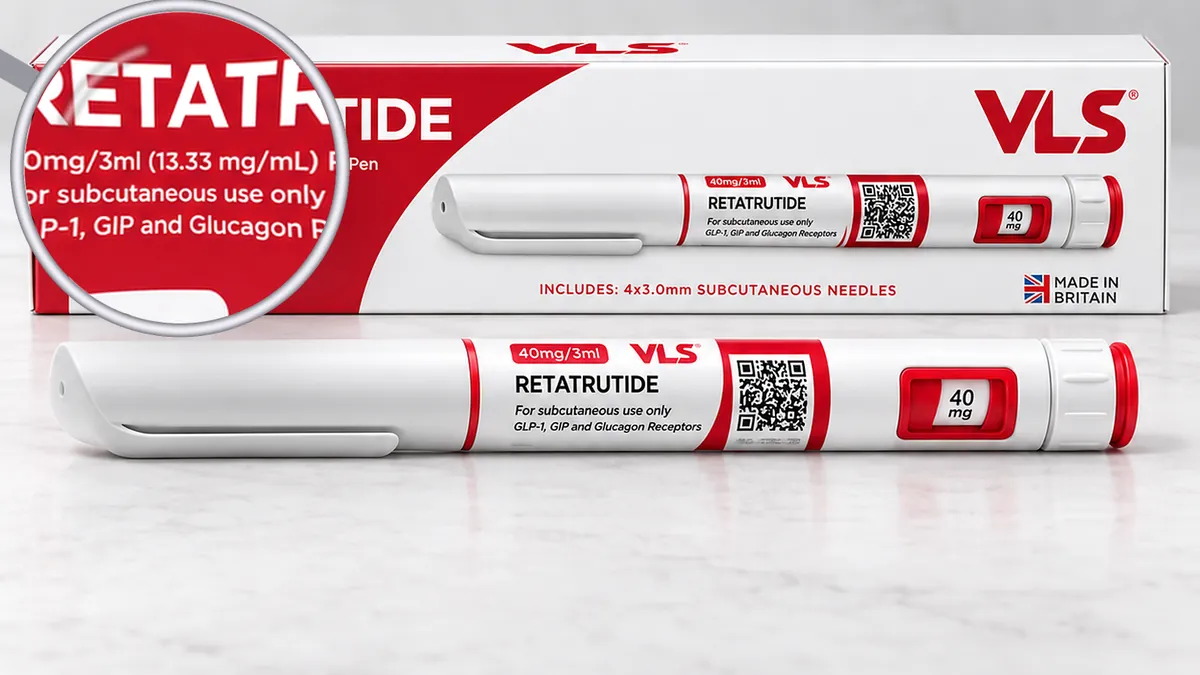
What milligrams, millilitres and concentration mean, why 40 mg in 3 mL gives 13.33 mg/mL, and what the batch number, expiry date and verification code on the box are for.
Read articleCheck the code on the packaging at the manufacturer’s official page, or send us the batch number on WhatsApp.